
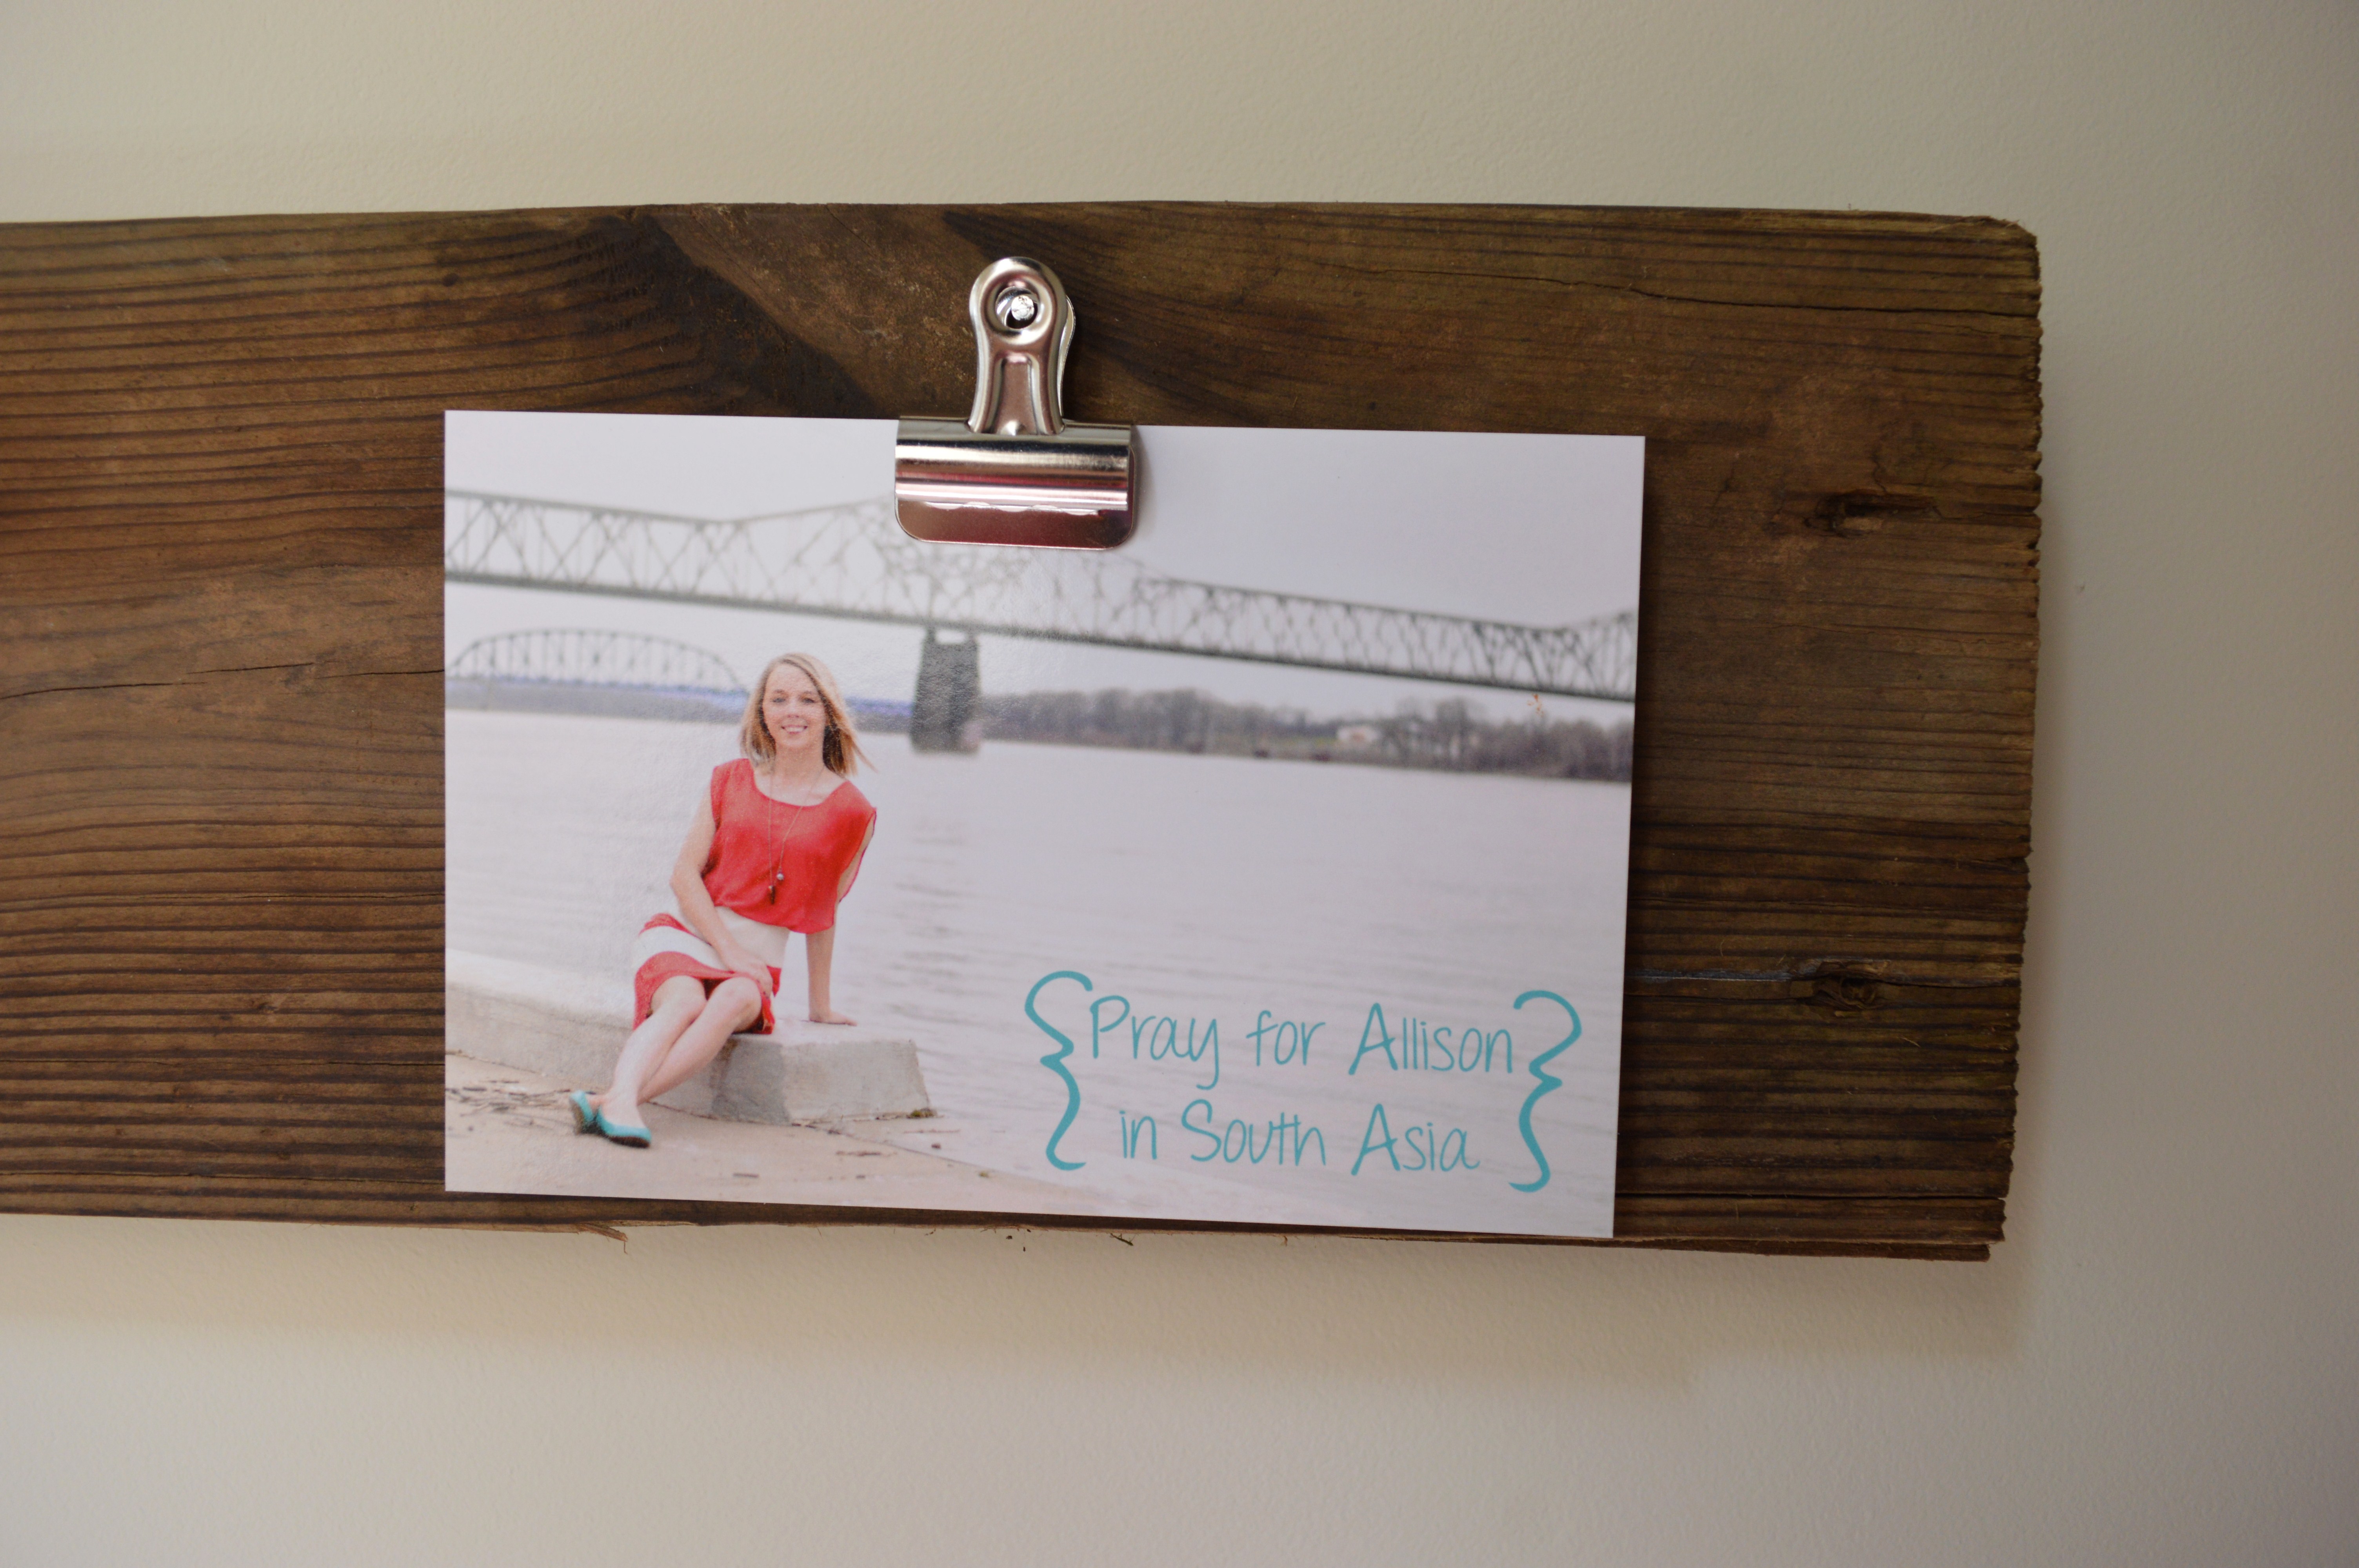
This past weekend, I finally got around to a little project I have been planning on for a while now: creating a prayer wall. We have been accumulating “prayer cards” for many years now–basically postcards that friends overseas may distribute to remind us to pray for them and their time on the field. We used to have these pinned to a cork board, but soon our collection needed a bigger (and more prominent) space. Enter prayer wall!

Several of you have messaged me about how I created this space after I posted a picture on Facebook, so I decided to write my own brief tutorial. It’s seriously very simple, but I know it helps to have the supplies list if you have no clue where to start (like me!).
Here’s what you need:
Wood planks – whatever size you prefer, but at least wide enough to accommodate your photos. If you use new wood from the home improvement store, you may want to consider staining it for a more finished look.
1″ bulldog clips – I found these online at many stores (Wal-Mart, Target, Office Depot, Amazon)
Small nails, medium length screws, and possibly anchors
D-Ring hangers
Your photos or prayer cards (of course!)
Basic carpentry tools (a hammer, measuring tape, drill, level, pencil)
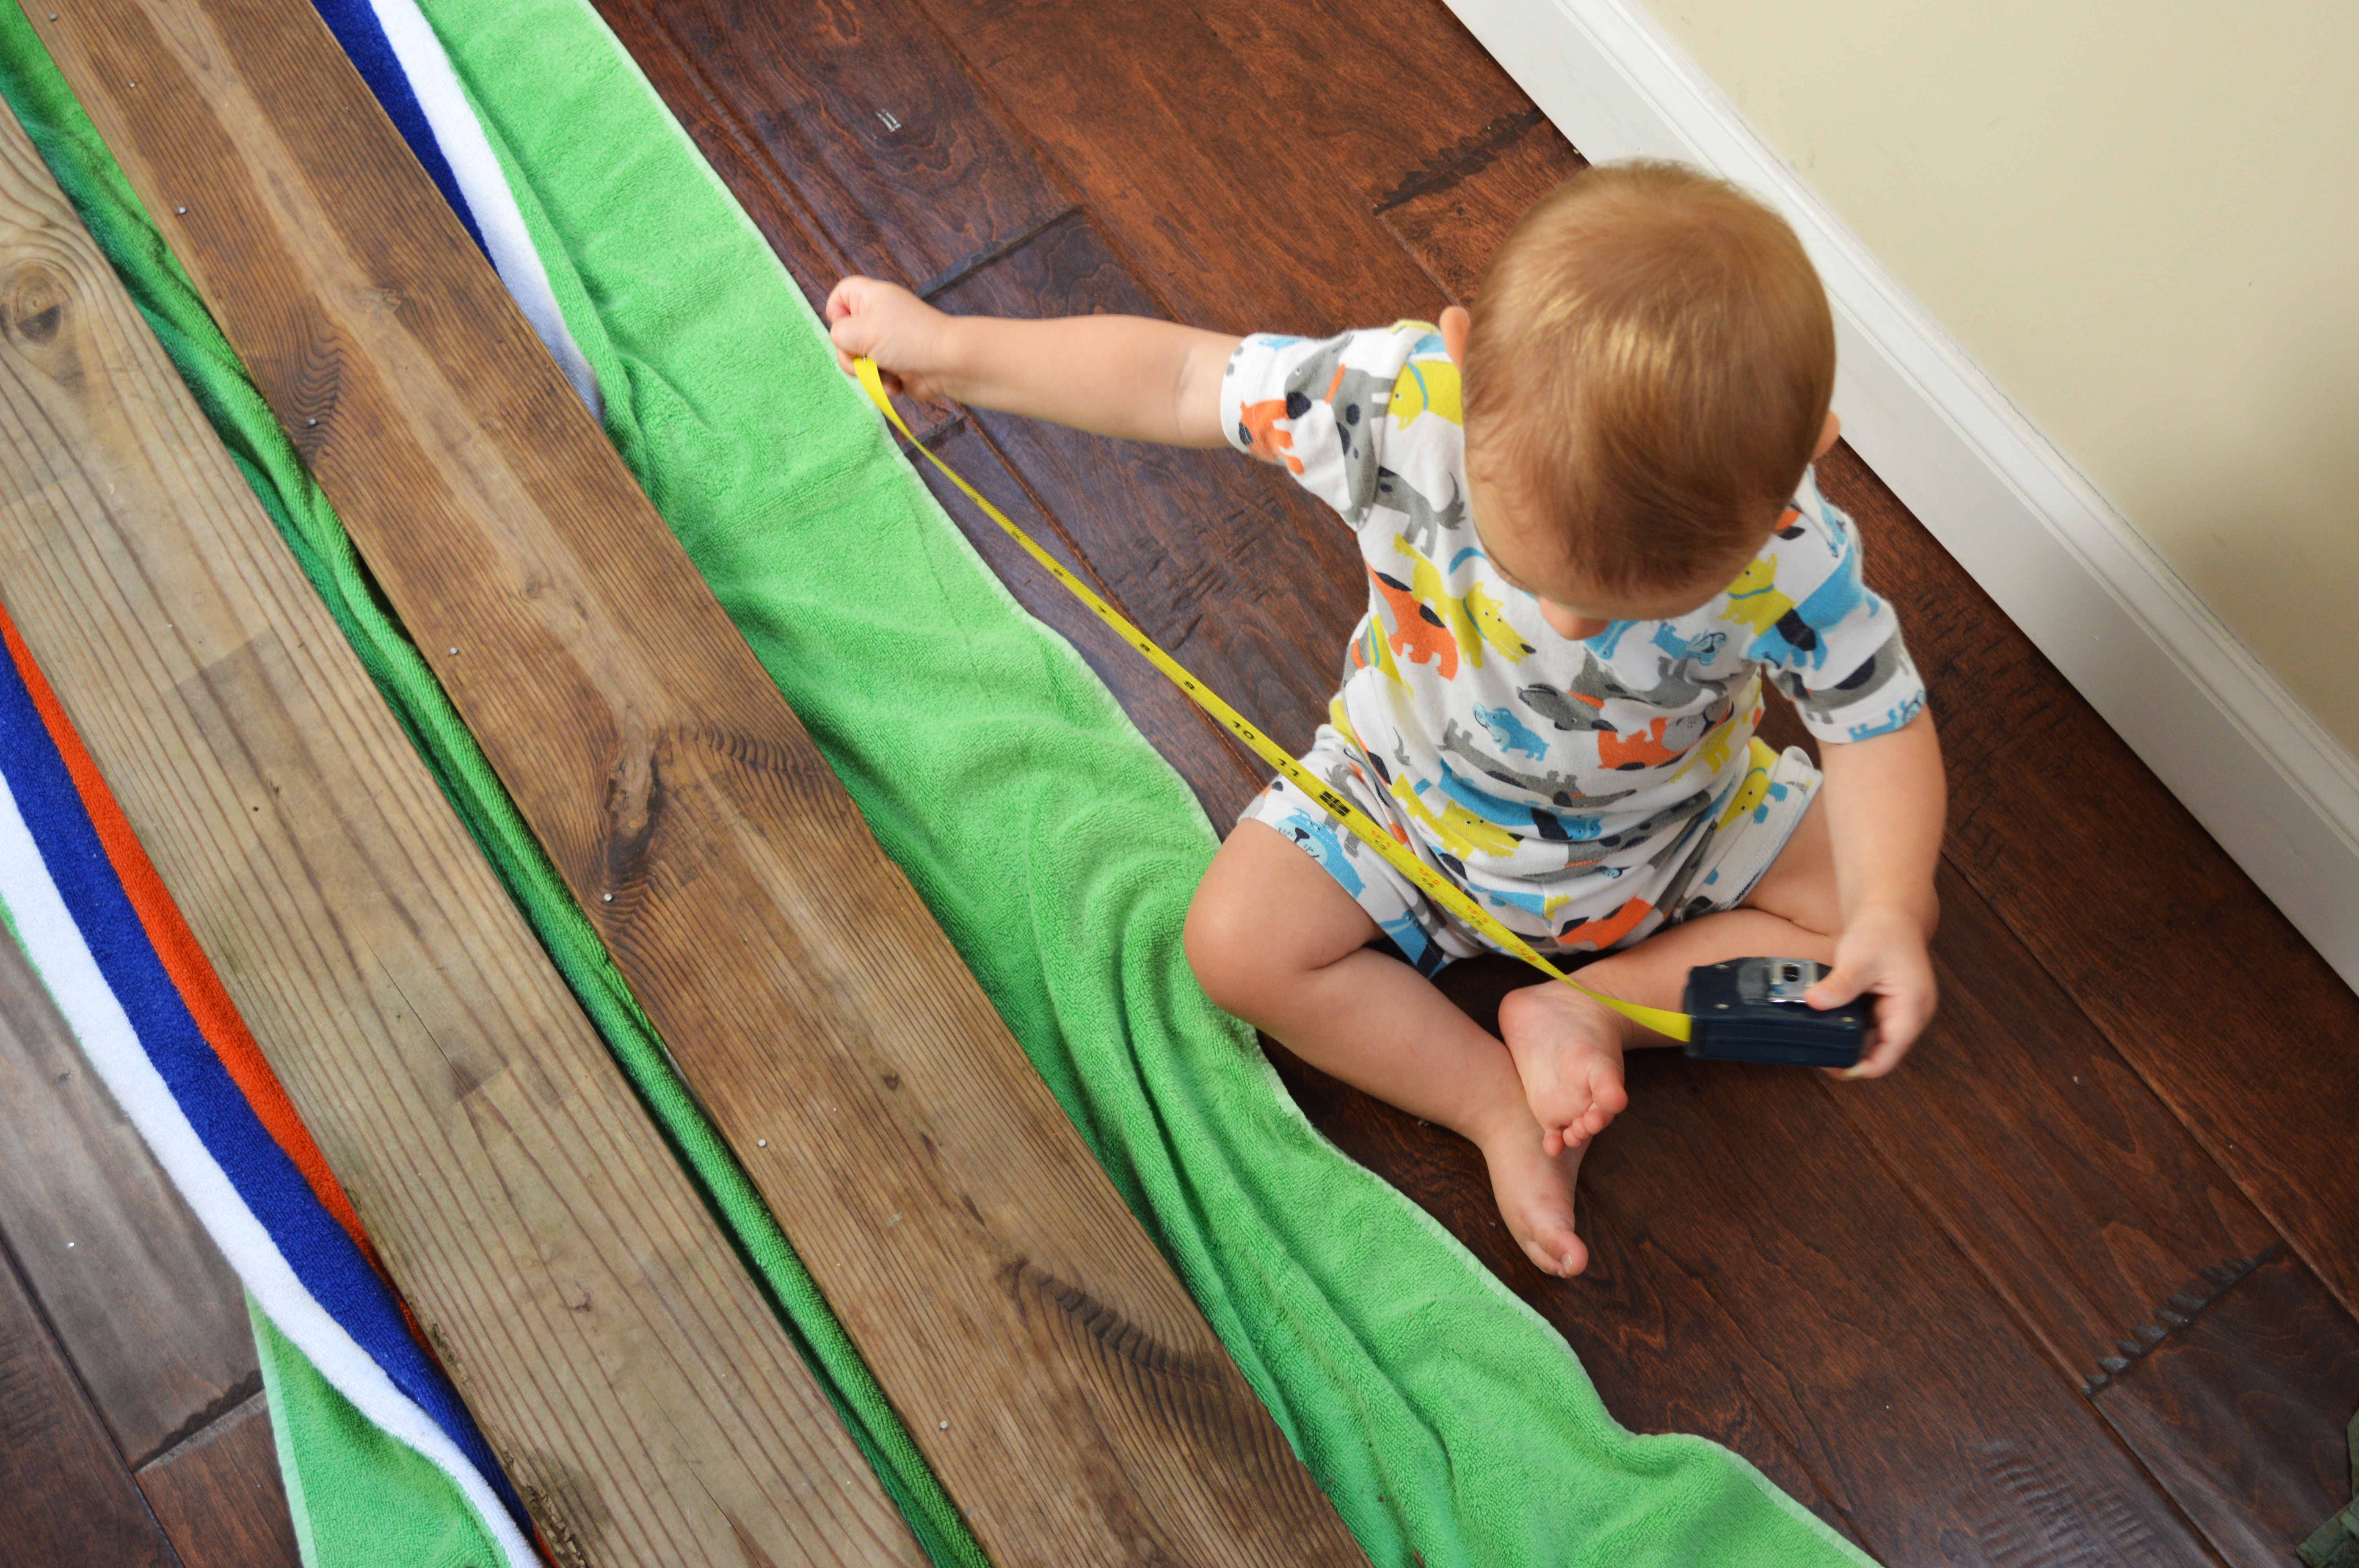
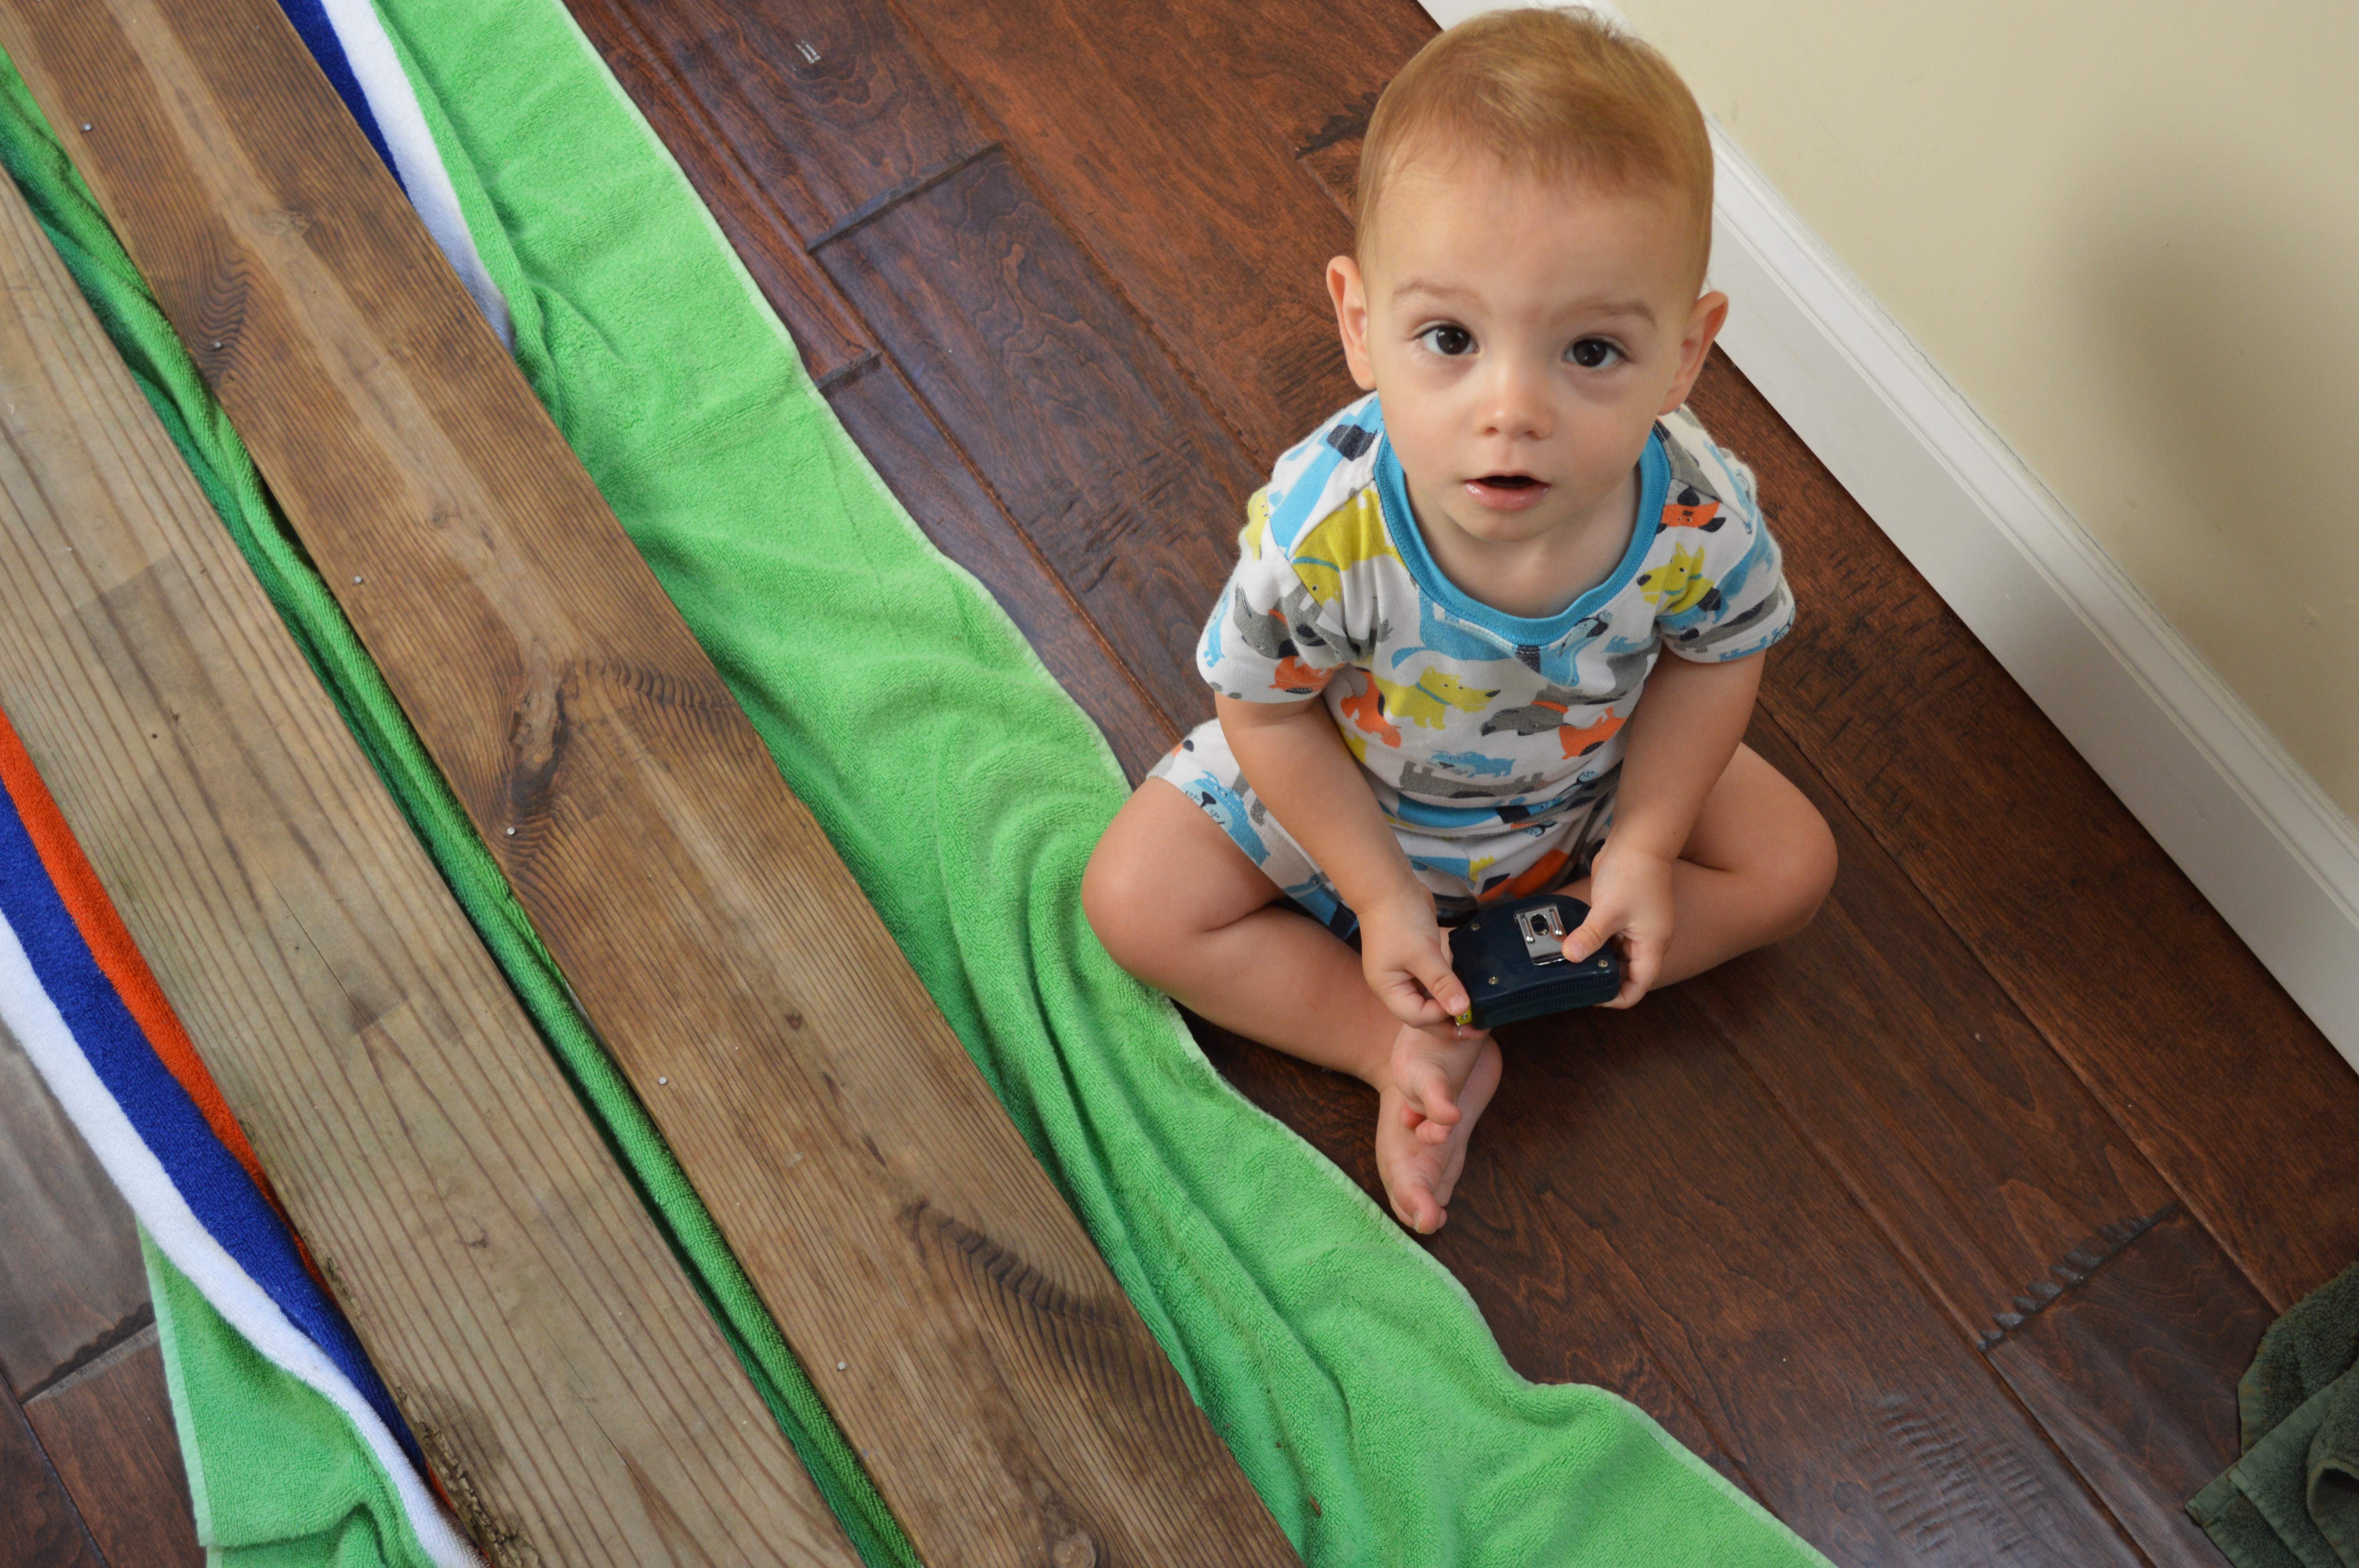
A tiny sidekick to lend a hand

I ended up finding some great distressed wood planks at our local Habitat for Humanity ReStore for $1.25 each. Since the wood was a bit soft to begin with (not brand new pine or anything), I didn’t worry about pre-drilling any holes for the d-ring hangers. I simply measured 2″ from the side of each board and 1″ from the top, marked the screw holes with a pencil and used the drill to attach the hangers to the back of the planks.
Then, I determined how many clips I wanted on the front of each board. This will vary based on the size of your planks and how closely you want the photos to be. Most of my prayers cards were 4 x 6″, so I measured for the nails every 6.5″, with 3-4″ before and after the first and last mark. I then hammered the nails 1/2″ from the top of the board.
My wood planks were fairly heavy, so I did use screw anchors when I knew there wasn’t a stud to drill into. Once leveled and hung, it was time to place a bulldog clip on each nail head and clip my prayer cards into place.
Simple as that! I really love how it turned out and how it fits the rustic modern look I was going for. It fills this long hallway in our house perfectly (and for $14, you can’t beat that!) and it’s a prominent place in our home (I walk up and down the hallway many times per day) that I am constantly reminded to lift up my friends in prayer when I see their faces.


I purposely used more clips than I had photos, to make sure we could keep adding to our wall! We can always use it for family photos or Instagram prints in the future as well, if we want to change it up a bit. Happy creating!

Love this! Also that little man is super sweet! 🙂
xx
Melissa
http://www.lovelikejohnnyandjune.com